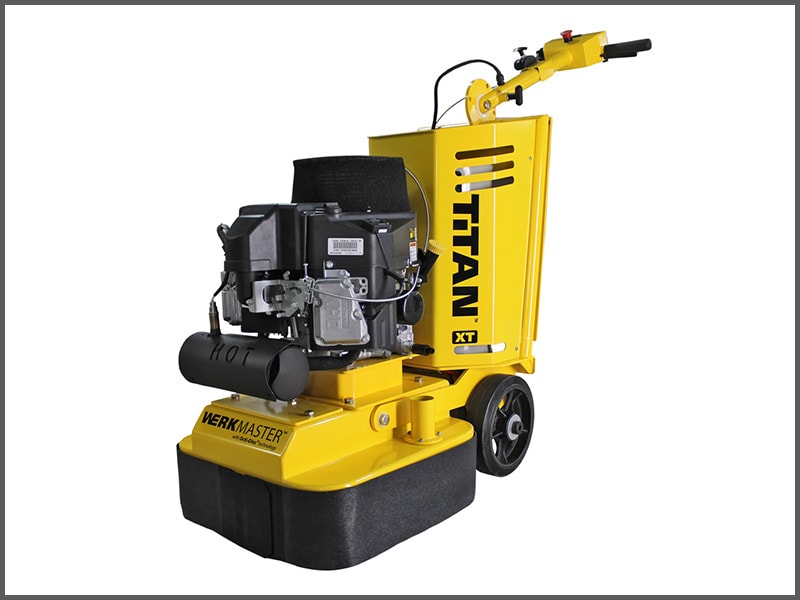
We have purchased a Werkmaster Titan grinder polisher about a year ago. The machine was in great condition but it was an older machine in need to an upgrade. This blog will detail the learning curve the we went through in order to get the machine to perform to our expectations.
Werkmaster are a great company. They are based in British Columbia and the make a great range of entry level grinding machines that can deal with most situations. The Titan weighs around 350 pounds and needs a 30 amp 220 volt supply. We alway try to connect to the clients supply but also carry a 10,000 watt 200v generator. This is a bit on the light side but seems to work well so far.
Before I decided to buy the machine I talked to the Werkmaster technical support team (good people!) and they told me how to upgrade the machine to the new flexible head configuration. Basically we needed to replace the old heads and install new ones. Pretty simple really. Special plates fit on the new heads. The plates hold up to six individual metal bonded tool heads. Another set of velcro backed plates is used for ceramic polishing segments.
To cut a long story short, here are the steps we took to get the machine to perform well:
1. Upgraded to the new flexible head configuration. We found that the machine lacked the power to drive our metal/diamond bonded heads and it was stalling out all the time and tripping the breaker. After numerous discussions with Tech Support we then…
2. Modified the gear ratio between the motor and the drive belt. This was achieved by buying some new taper lock bearings and switching the drive gears. Not too hard but the motor is a bear to lift! The purpose of this was to increase the torque at lower speeds.
3. Reprogrammed the software to increase the torque and lower the rpm. Reprogramming took around an hour with Eric of Tech support. Everything was done over the phone.
4. Installed new tooling.
We are now using the following tooling for a typical concrete polishing job. This is the sequence we are following:
- 40 grit, over size, double segment, medium bond, metal diamond tools. 4 per head (32 total).
- 80 grit, over size, double segment, soft bond, metal diamond tools. 4 per head.
- 50 grit, hybrid resin tool. 4 per head.
- 100 grit hybrid resin tool. 4 per head.
- 50 grit resin. 4 per head.
- 100 grit resin. 4 per head.
- 200 grit resin. 4 per head.
We have had good results with this sequence. We start with the lowest speed of 550 rpm for the metal tools and then increase to 750 for the hybrids and 950 for the resins.
Avoid Breaking Belts! We have had two breaks so far. The first time we hit a nail and broke the head belt. This is a pain to replace and cost over $250. Ouch! A few months later we hit something else and broke the primary belt that links the motor to the head spindle. Only $50 and easier to change. Still a pain to deal with in the middle of a job with other contractors waiting for us to finish.
If you are wondering why we switch from medium bond to soft bond metals (good question) this is purely economic. The soft bond tools are less that half the price of the medium bond ones. I do not believe they will last half as long when used at low speeds.
If you have any questions please feel free to post a comment.


